We’ve had a few weeks of very slow progress at the house as we have had a series of exciting family events to attend, however with a four day weekend for me and a reinvigorated sense of urgency following our slowdown we seemed to get quite a lot done. It’s with this in mind I’d like to share with you our plans for our ensuite bathroom.
Aside from the kitchen, this has been the one room people have really struggled to get a grip on. This is primarily because where we wanted a window and a toilet was an angled chimney breast, and where we saw walls other people saw, well, no walls.
Well no longer! We now, officially have a separate and recognisable (ish) ensuite! Here’s our progress and a visualisation of the end result.
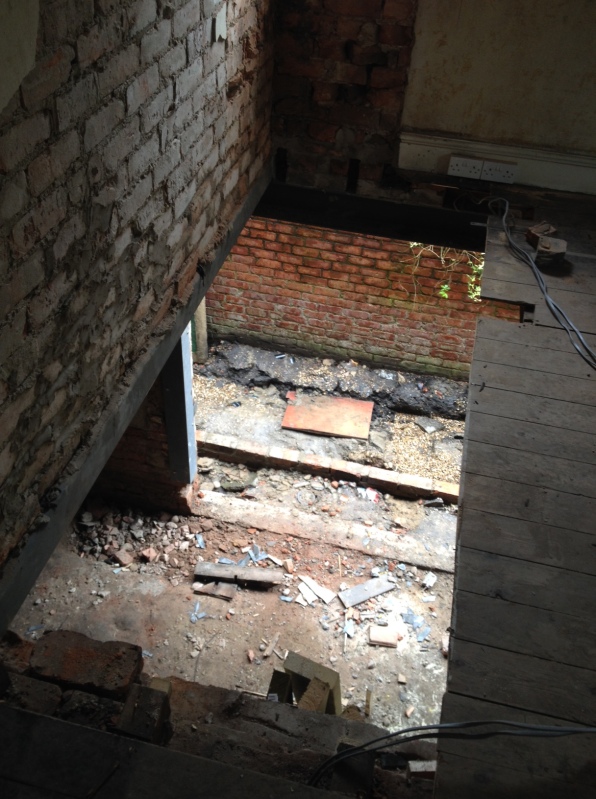
As the chimney breast was removed from the corner, the joists under the ensuite needed to be replaced as the didn’t span the whole room, leaving us with a floor that was unsupported on one side (making it tricky to look out the new window!) We took up the floor, removed the old dangly joists and created a ruddy great hole!
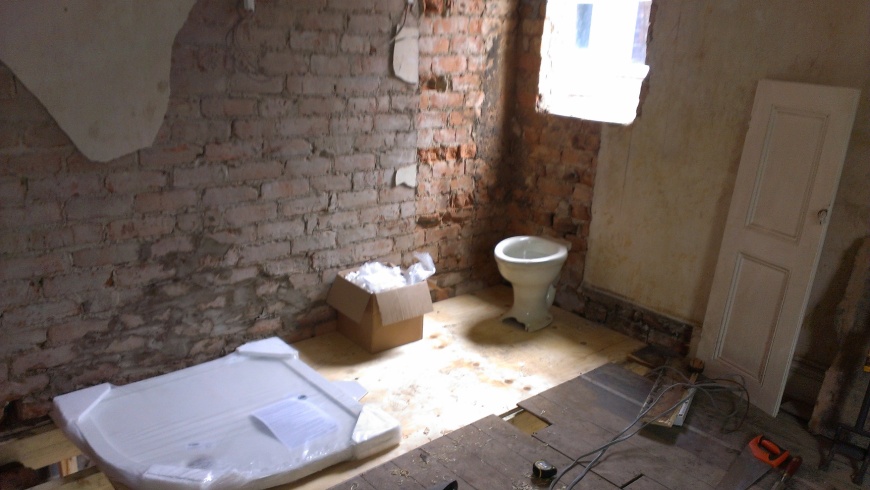
Once we installed the new joists and floor, you could see the ensuite as it’s own space for the first time. As we were so excited we put our shower tray, toilet and a box to represent the sink to get an idea of it.
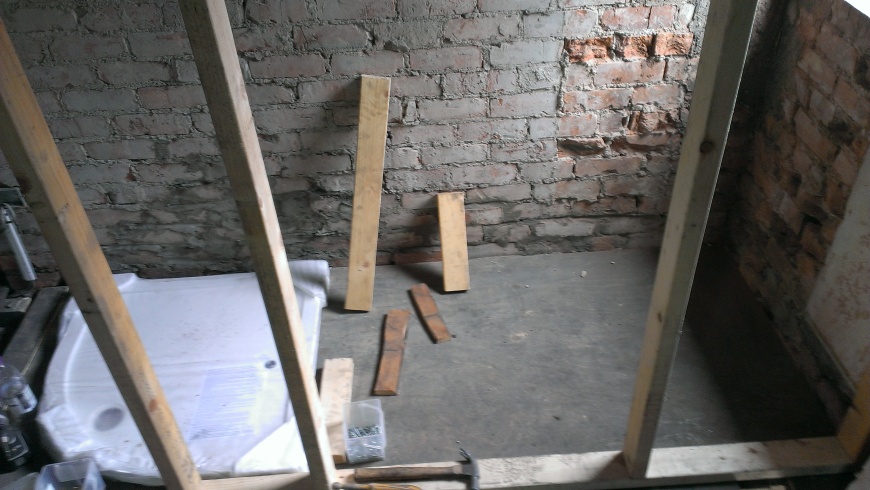
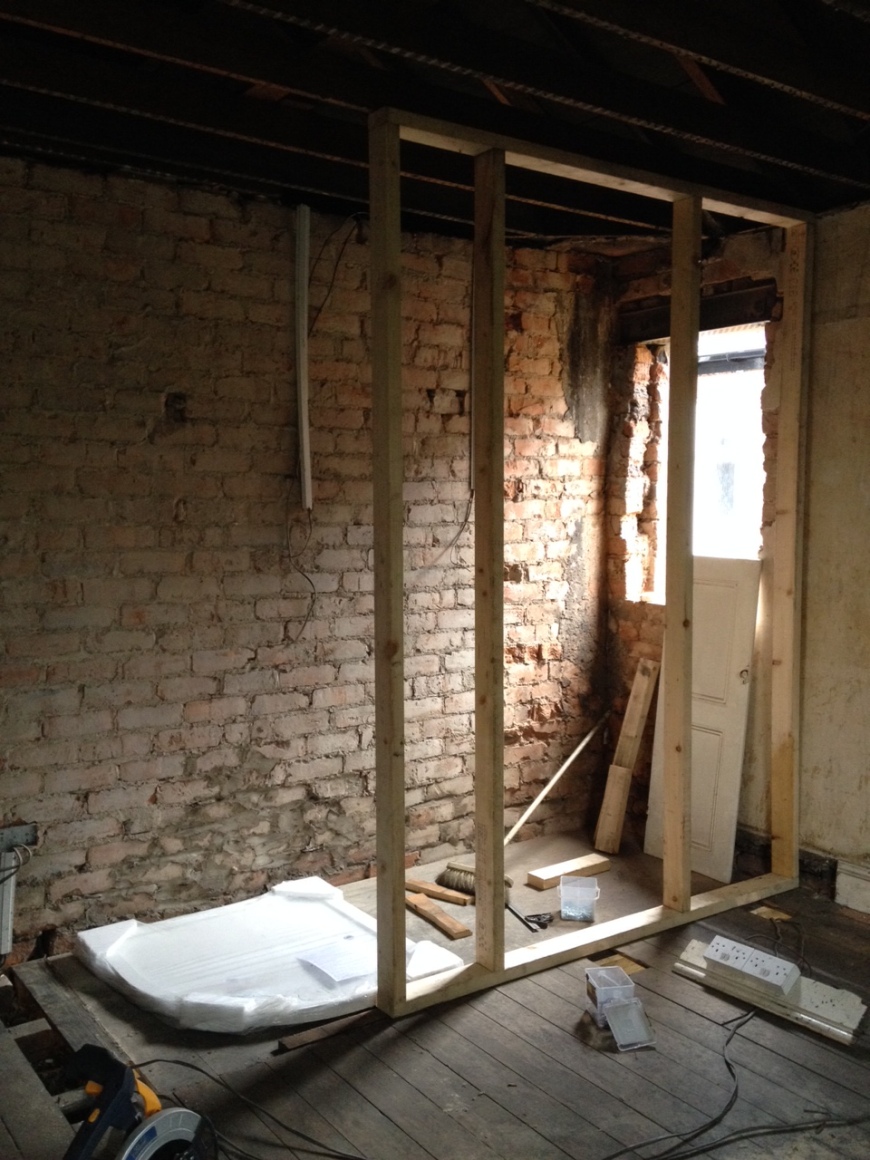
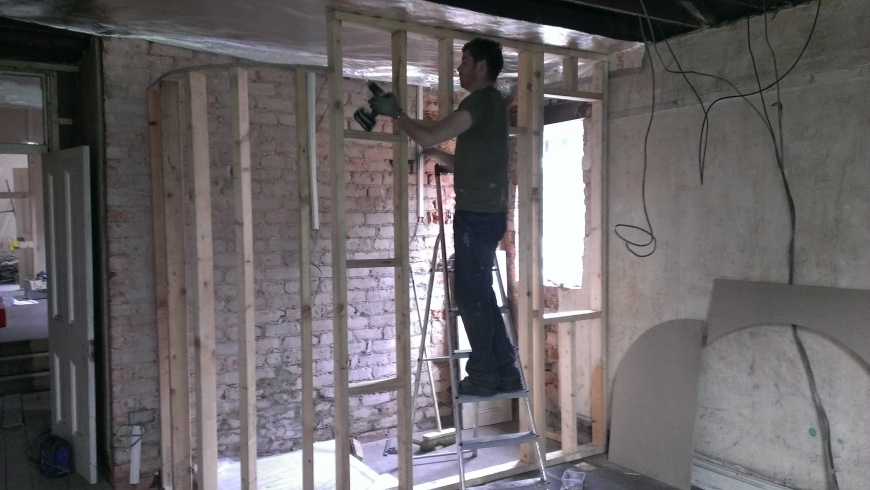
Next Ally started putting the first stud work up. As we wanted a curve around the shower he started on the easy bit with the flat section.
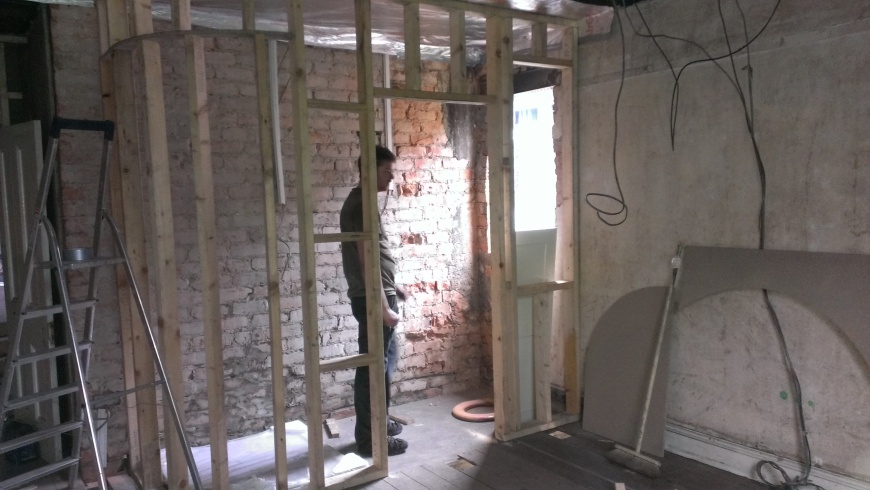
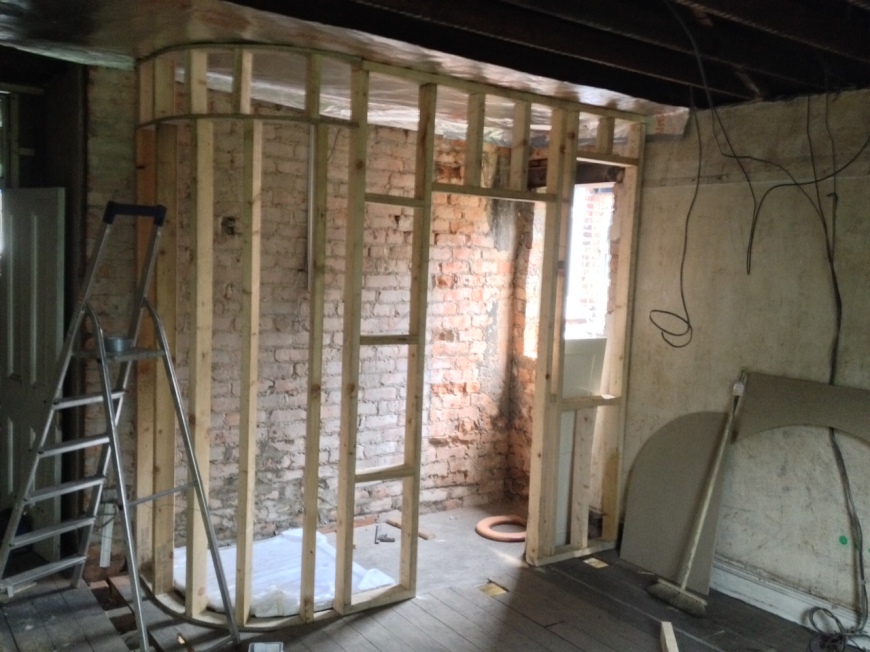
We created a template for the curve using the shower tray and then screwed together what looked like the makings of a reasonable boat. You’ll see in this picture we have also put an air tightness membrane over the ensuite. We’ll do the rest of the bedroom later, but we took this step because plasterboard is fairly ‘gappy’ and as we are installing whole house MVHR (Mechanical Ventilation with Heat Recovery) we need it to be airtight for it to work properly. Ally is probably best placed to explain the details as although I know the basic I’m not as well versed as him!
And here’s Ally checking out his finished walls, complete with curved wall!
I had a curved wall in my teenage bedroom and I loved it, so it’s a bit nostalgic having one on my new bedroom – especially as the placement is very similar with regard to the door. Very excited for it to be plastered!
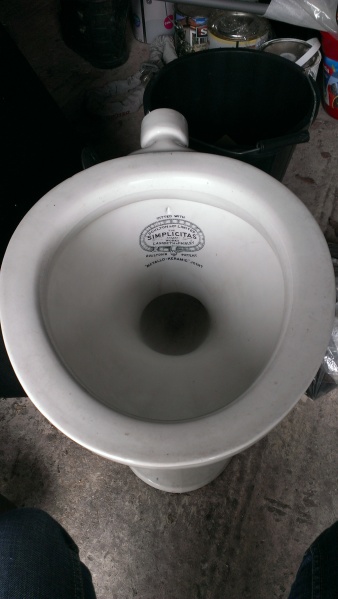 You may also remember the drama we had with our original toilet. It got broken by our builders right across the U Bend and after a lot of Goggling we finally resigned ourselves to the fact it would not be possible to repair it.
However, by then we were excited by having a gorgeous old Edwardian toilet so we set about trying to find a similar one online.
We struck gold with this one which was reasonably priced and is the same style and age as our broken one, with gorgeous writing on the pan! Plus – added bonus – the U Bend goes backwards towards the wall instead of to the side so it’s an even better fit!
But onwards to the visualisations!
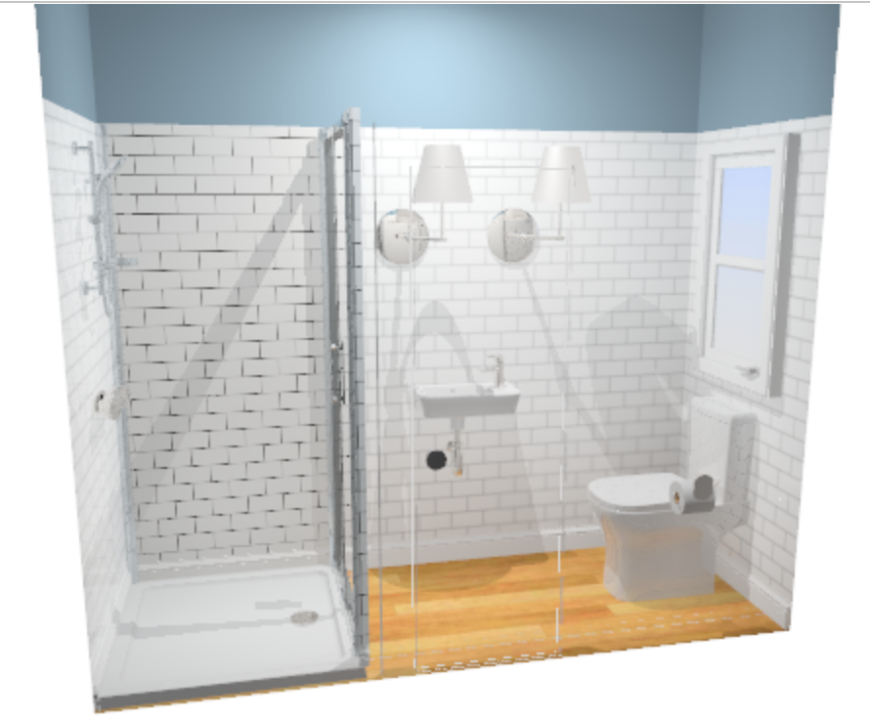
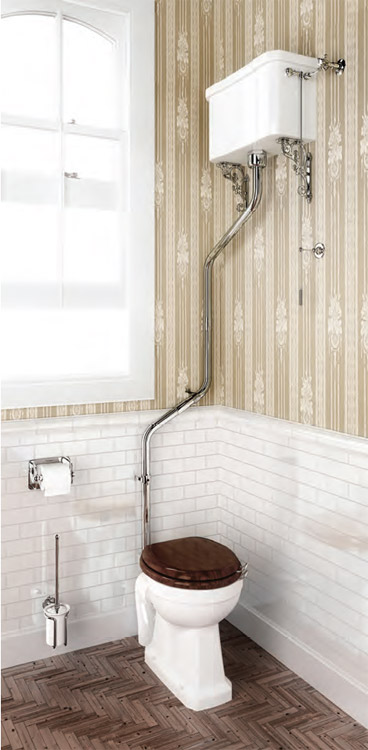
This is a rough idea of what we want the ensuite to look like once it is finished. Bear in mind that this is our best job on free online software so there are bits that are way off (such as the HUGE wall lights). We are having a high level cistern that sits on the wall next to the toilet, rather than immediately above it, but we haven’t been able to get that on the image either.
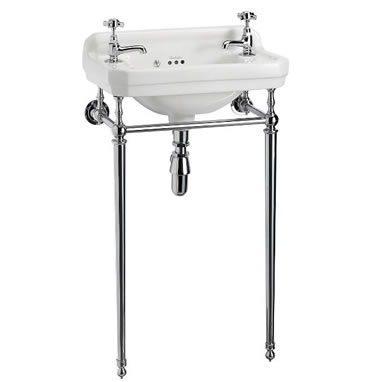
There’s also no way to illustrate a curved wall on the free software – it’s almost like they don’t want you to be creative! Anyway, as it is a small bathroom, we’ve chosen a very small basin. It’s a Burlington cloakroom basin. As we planned on using our Edwardian toilet (and are now using the new Edwardian toilet) we decided the rest of the sanitary ware had to be fairly classic in style too.
We’ll be installing this angled high level cistern too as our new window is directly above the toilet.
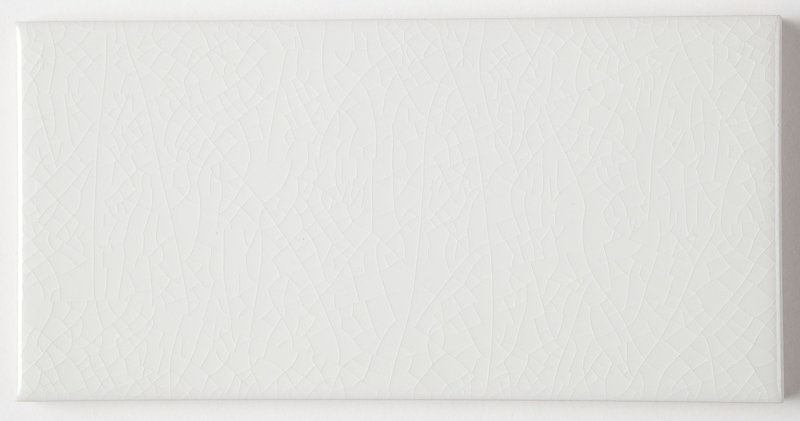
We’re installing white crackle glazed metro tiles on the walls and inside the shower. It took ages to find these tiles as most have a bevelled edge which Ally just will not tolerate. Apparently.
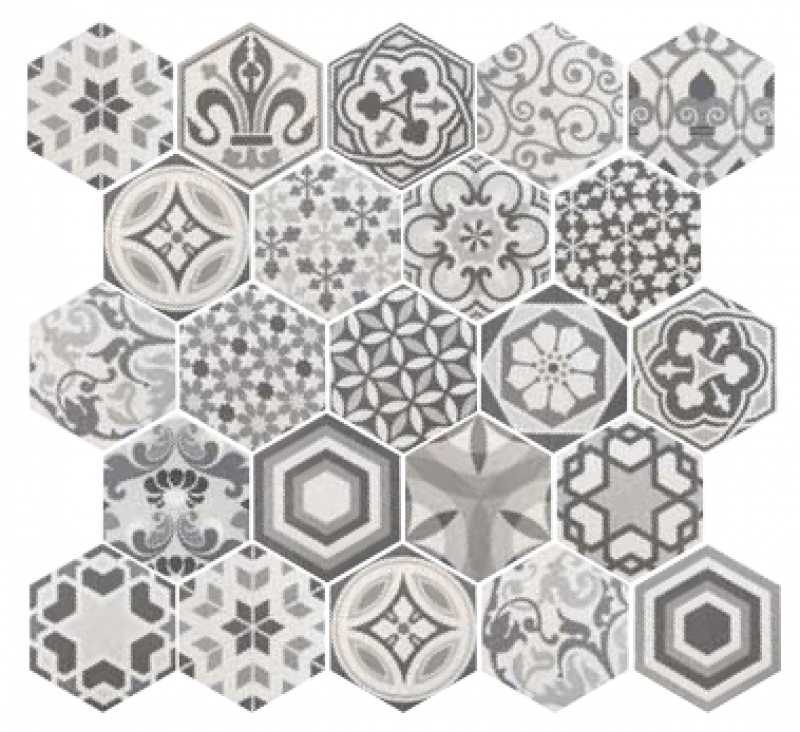
It’s taken ages to decide on flooring as we didn’t want to go ultra traditional (we’re hoping it won’t look either like you’ve stepped back in time or into your Great Granny’s lav) but similarly we thought something modern would be really odd. I have been after some mismatched hexagonal tiles for ages so I thought these were perfect, and I finally ground Ally down to agreeing with me!
 Hopefully it won’t be too long until we have some more progress to show you as we’ll be focussing on getting this bathroom finished so that we can move in. Watch this space!

